
Manage Contacts - Overview
Only an Administrator or Manager can manage contacts.
- As an Admin or Manager, log into your Prokeep profile.
- Click on the Settings gear on the left sidebar.
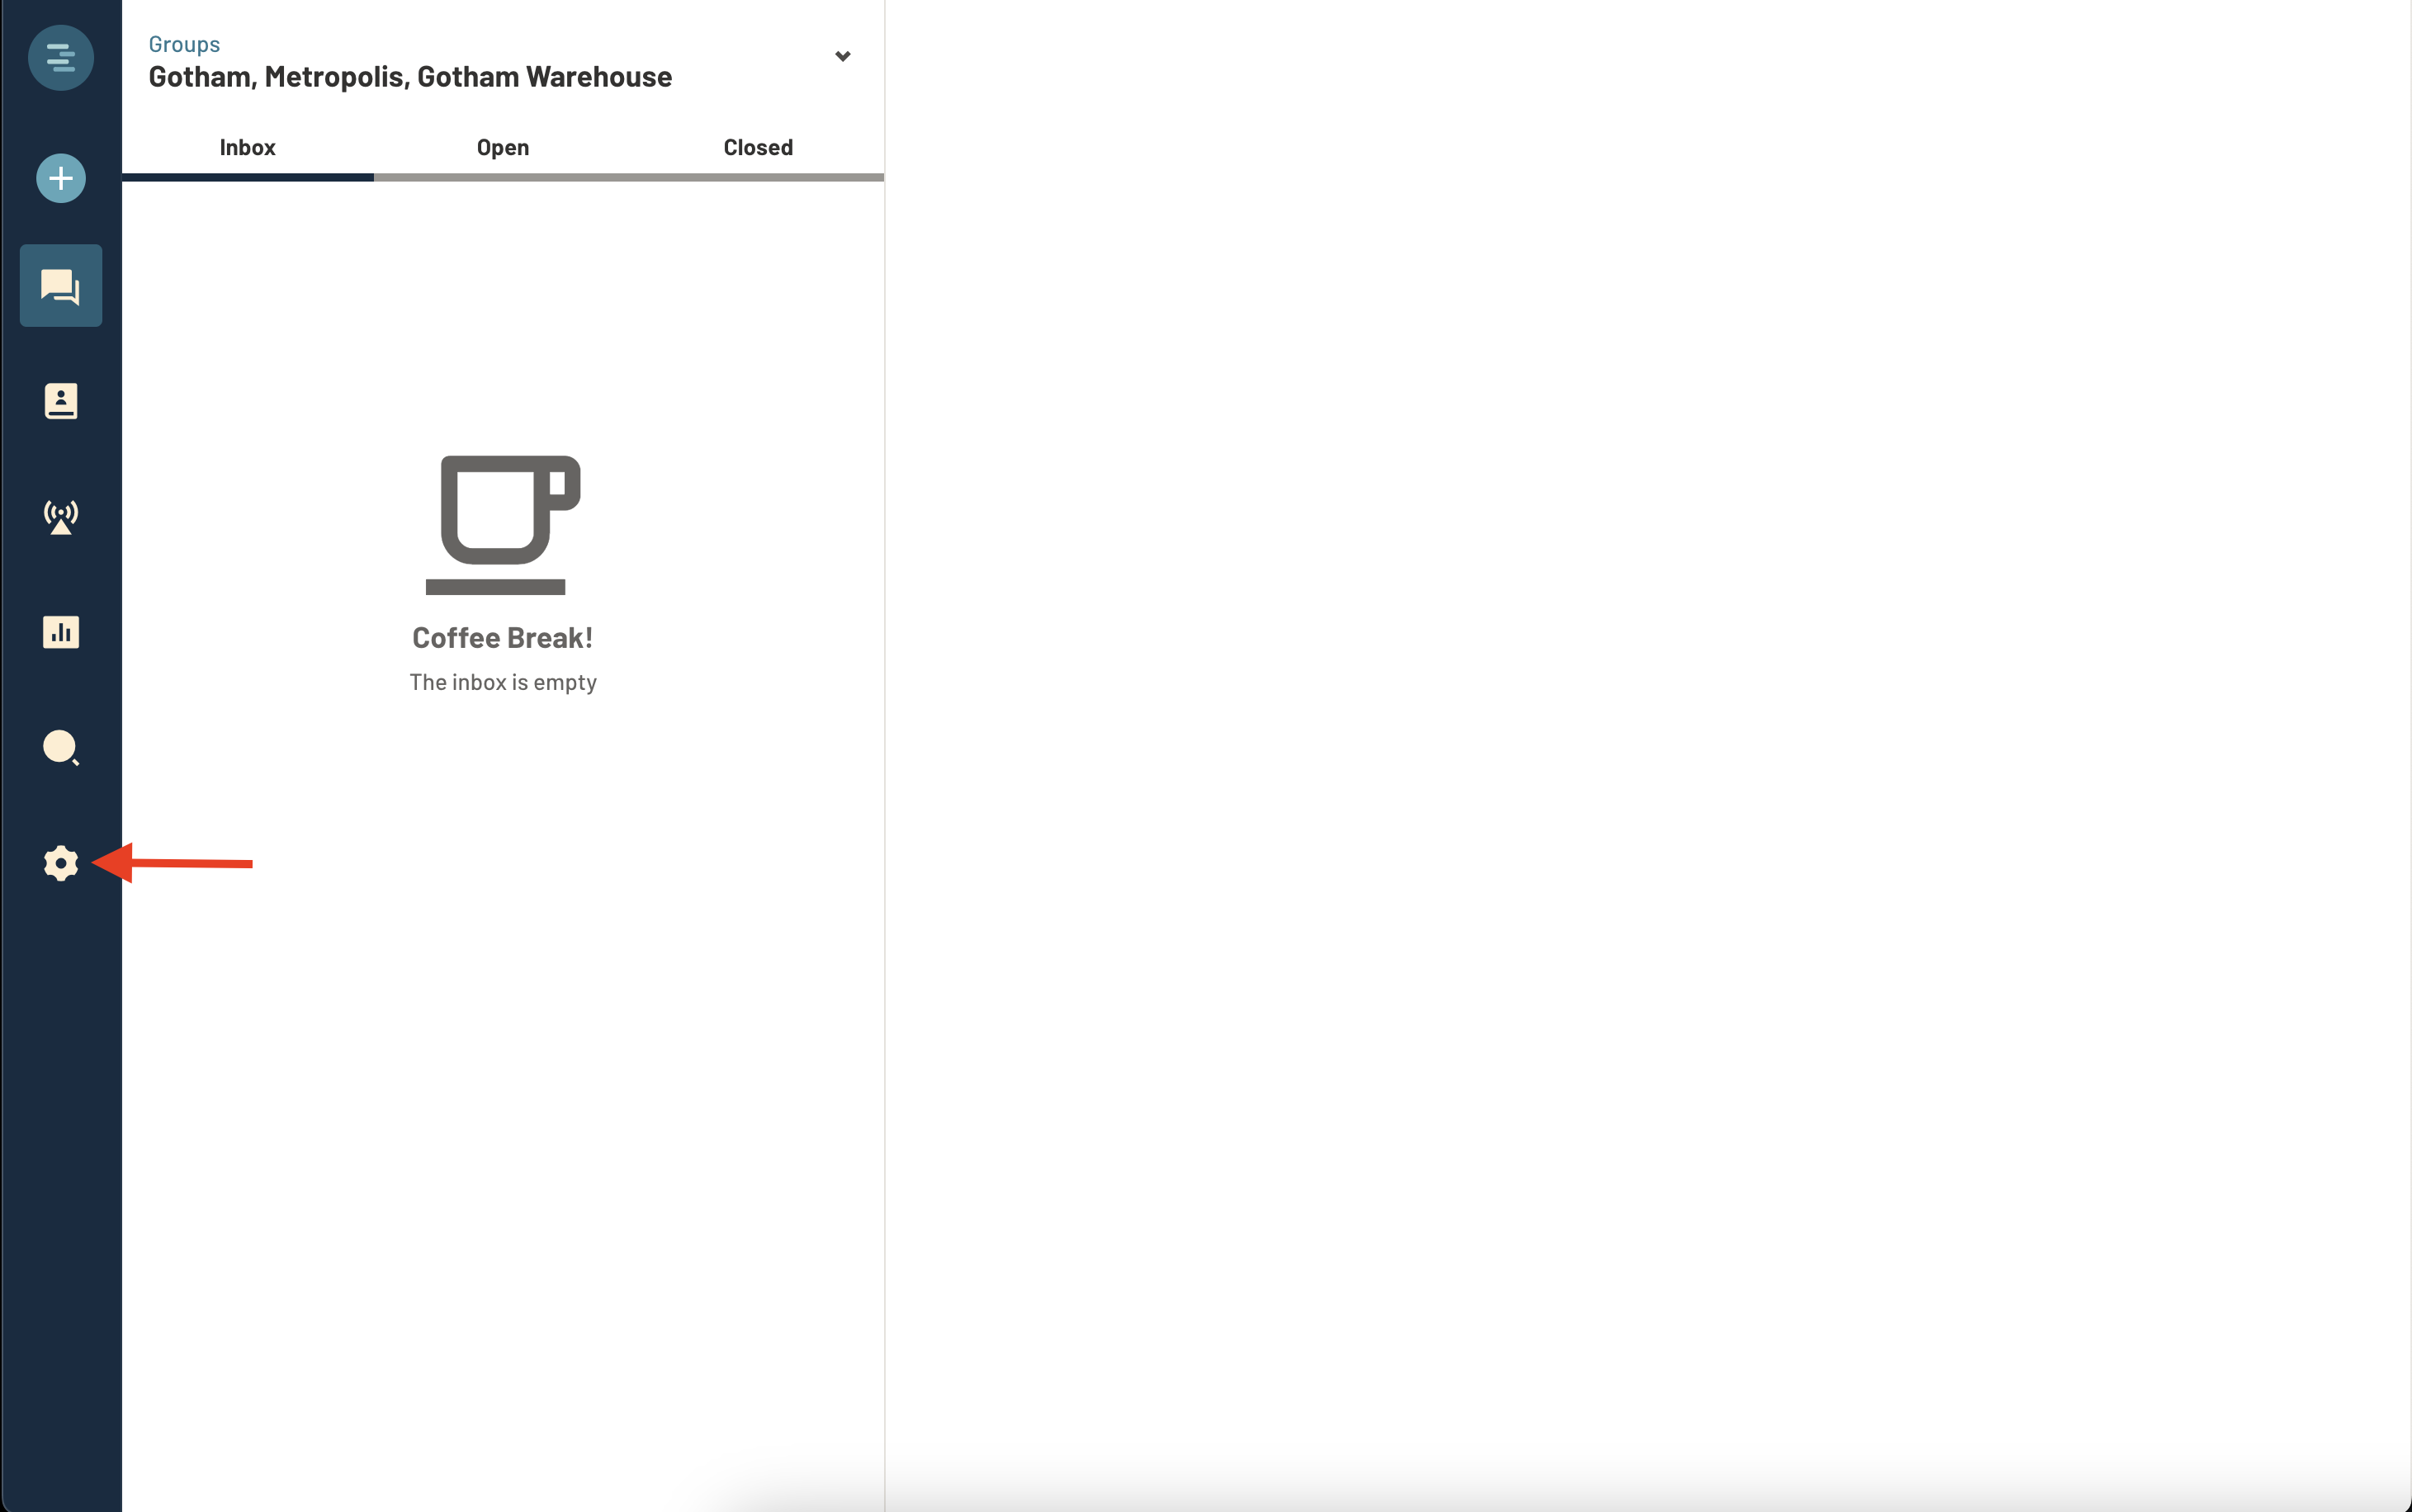
- Click "Manage Contacts"

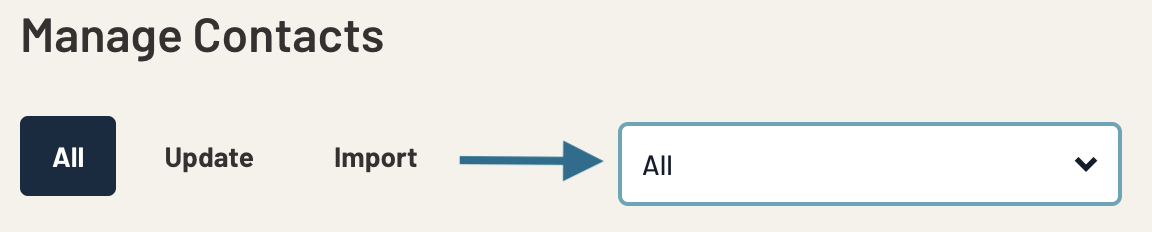
- From here, you can Search, Update current contacts, Import a customer upload, or Export Contacts.

- If you are an Administrator, you will see a dropdown for All groups or you can select an individual group.
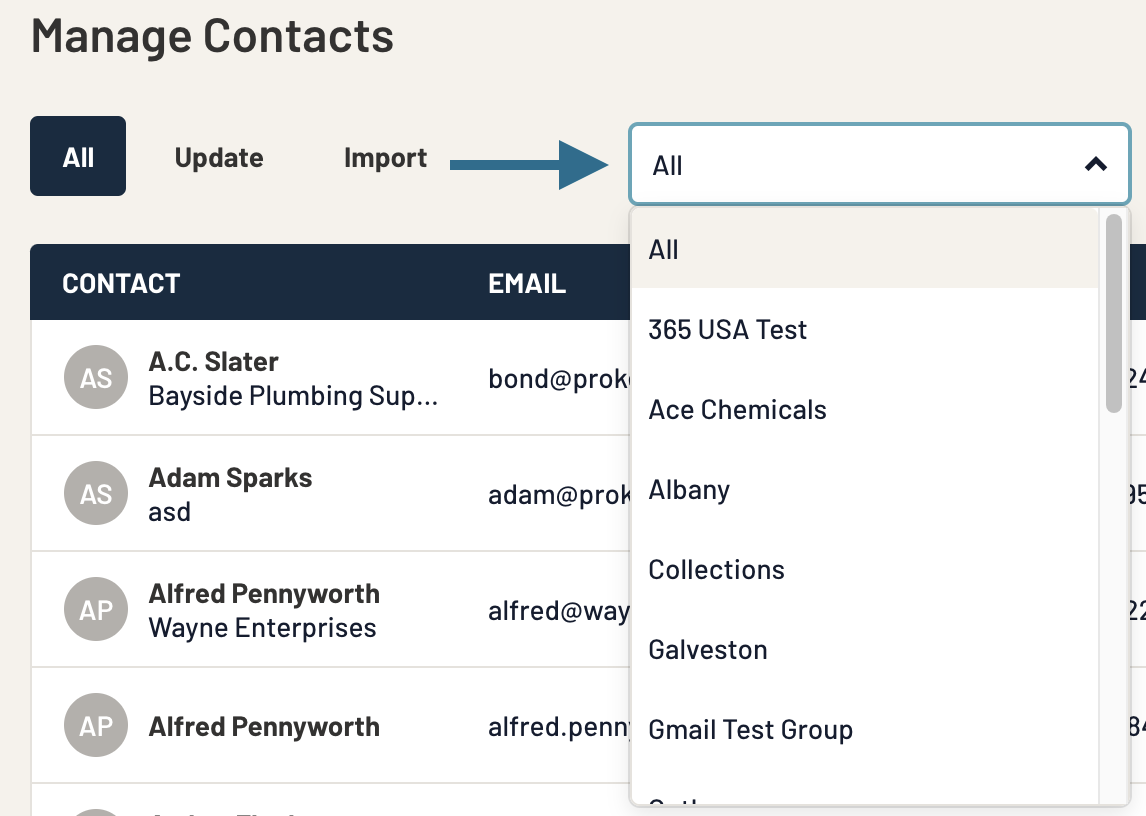
- If you are a Manager, you will be able to select contacts by group.
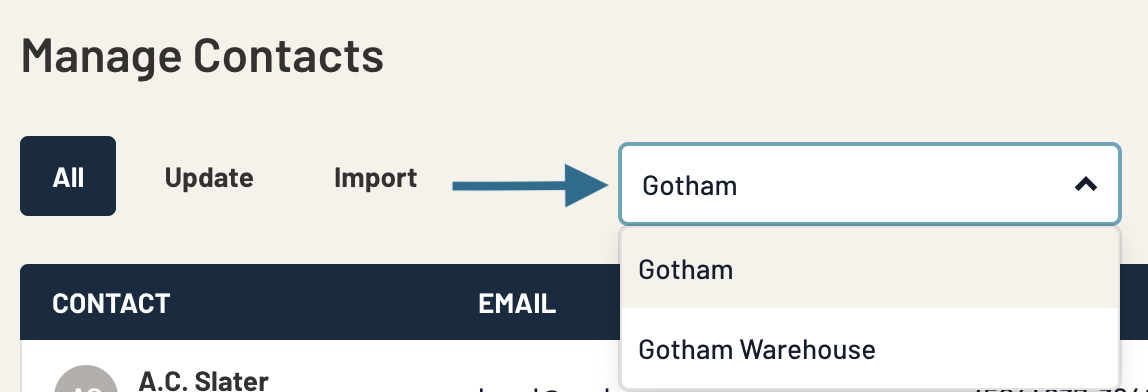
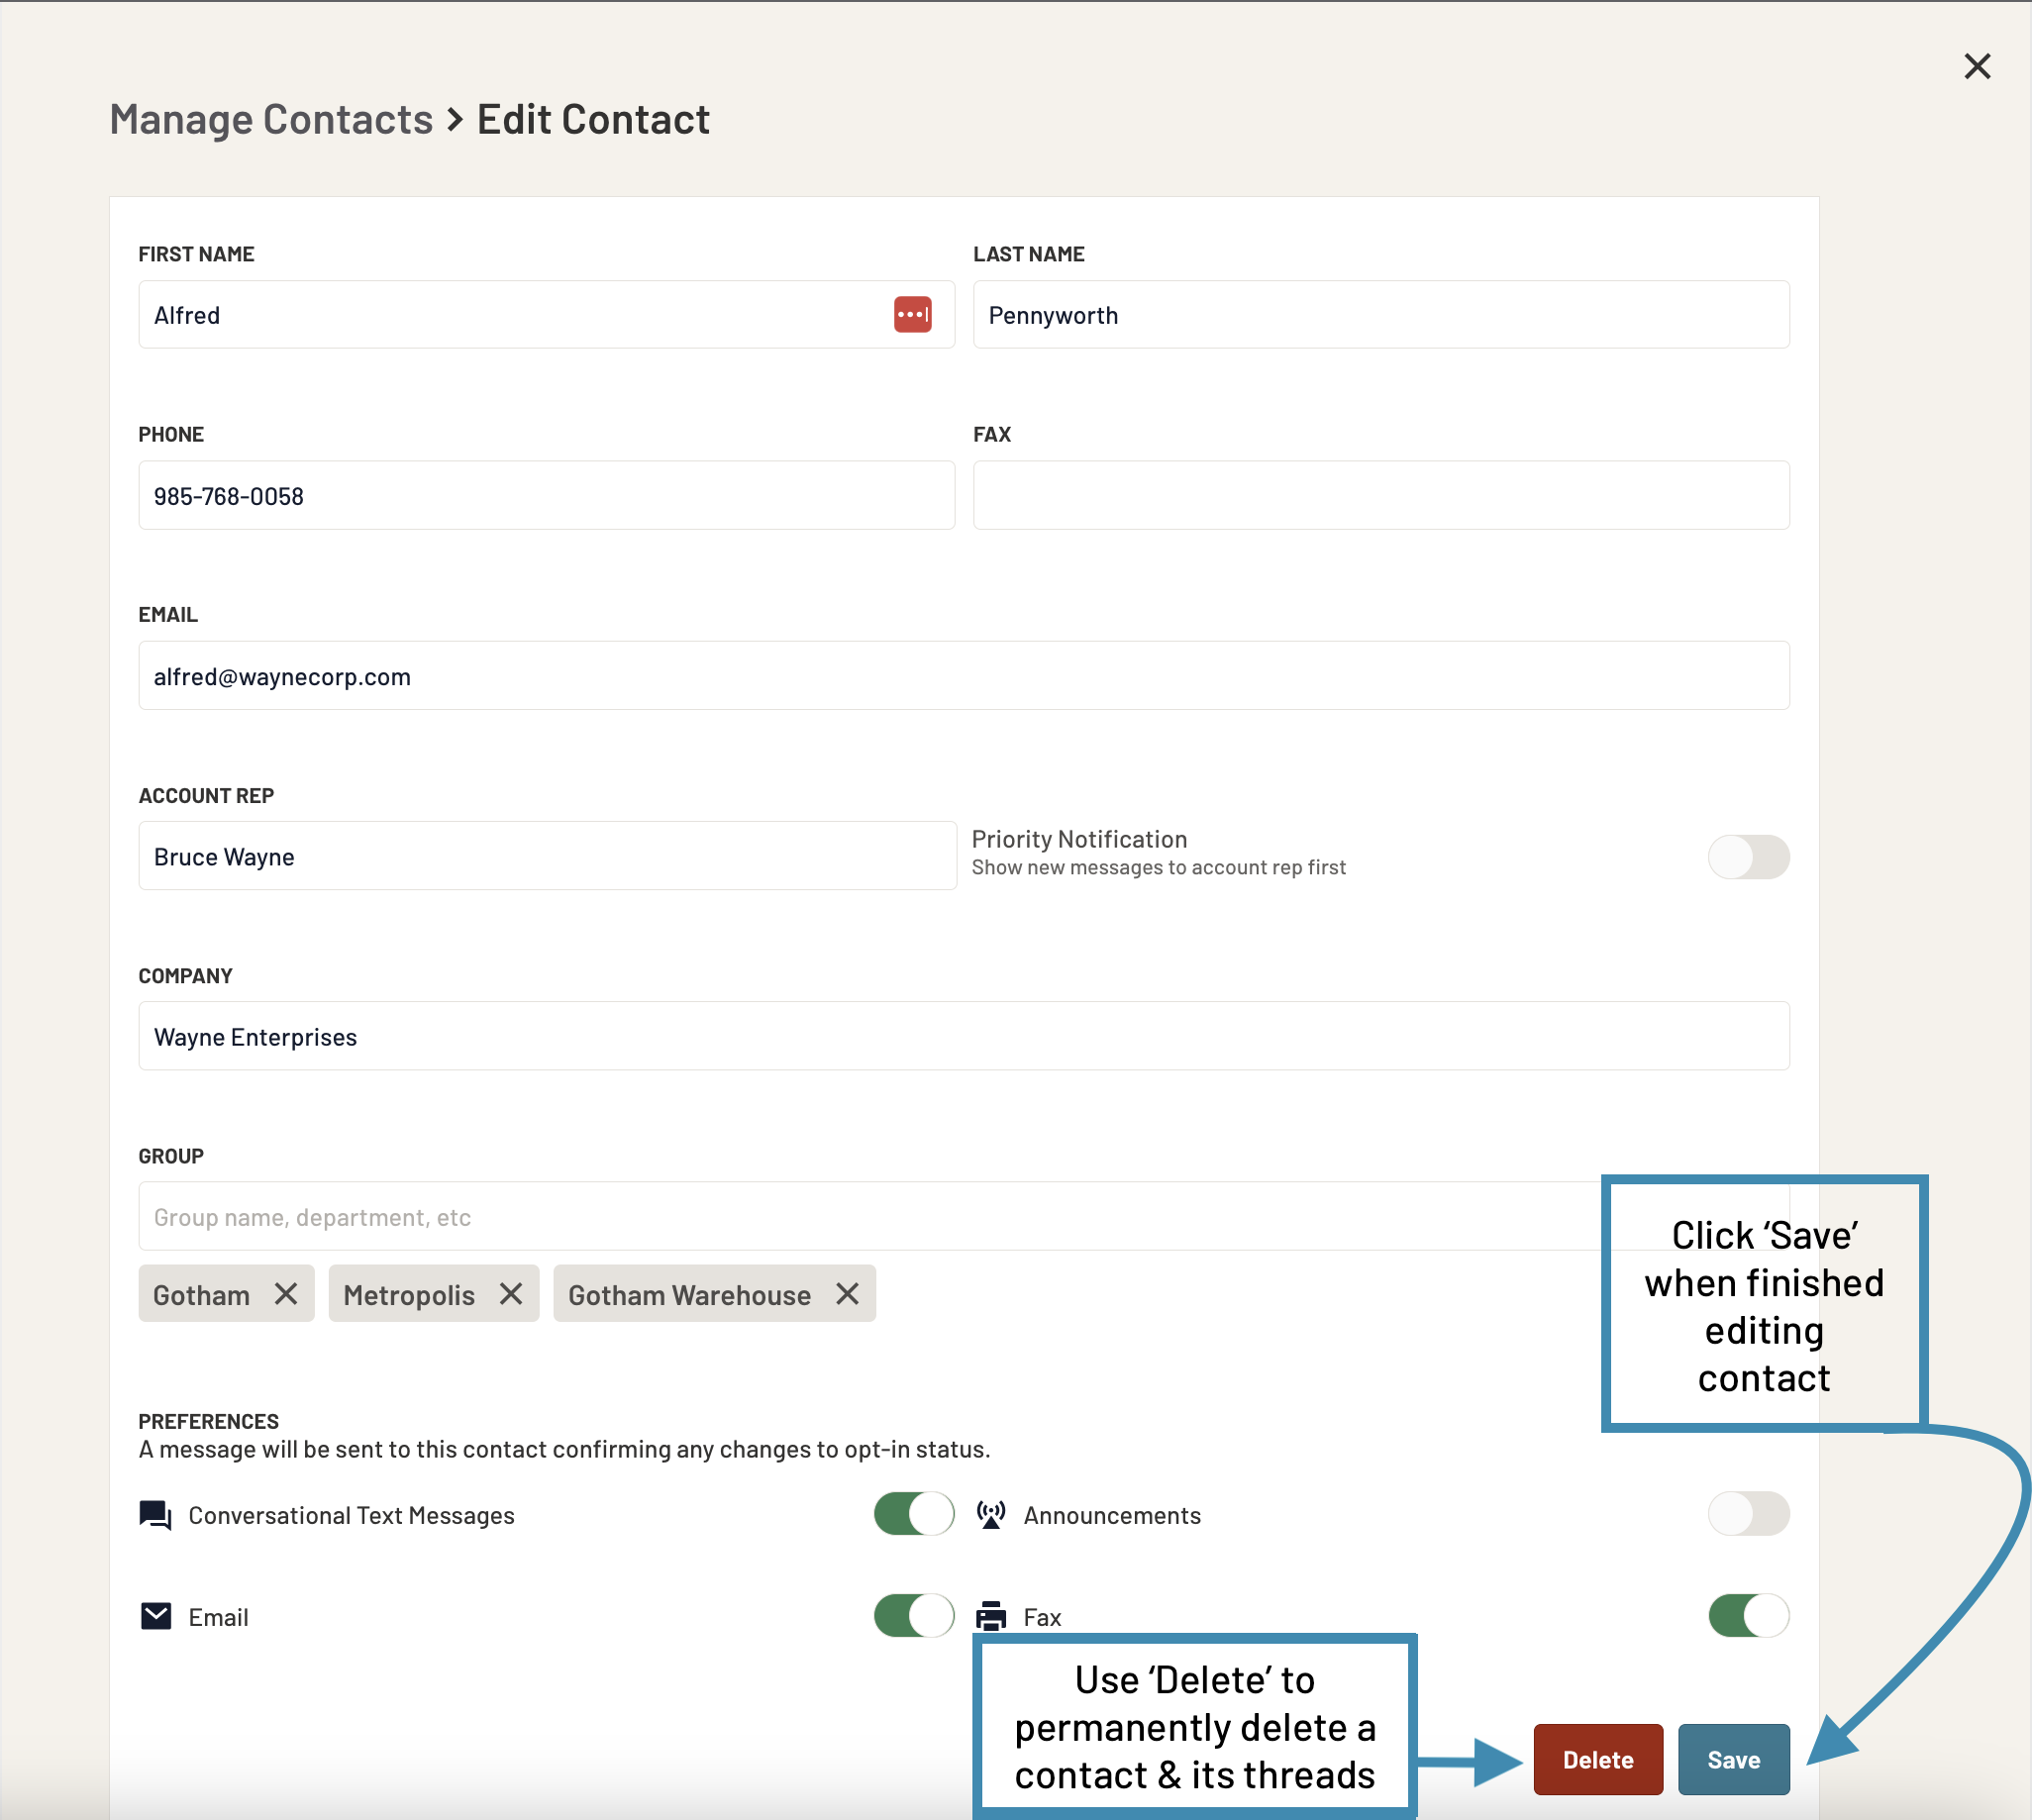
- After selecting All or an individual group, you can click the pencil next to a contact to edit their information.

- From here, you can make changes to the contact and then click Save, or you can Delete a contact.
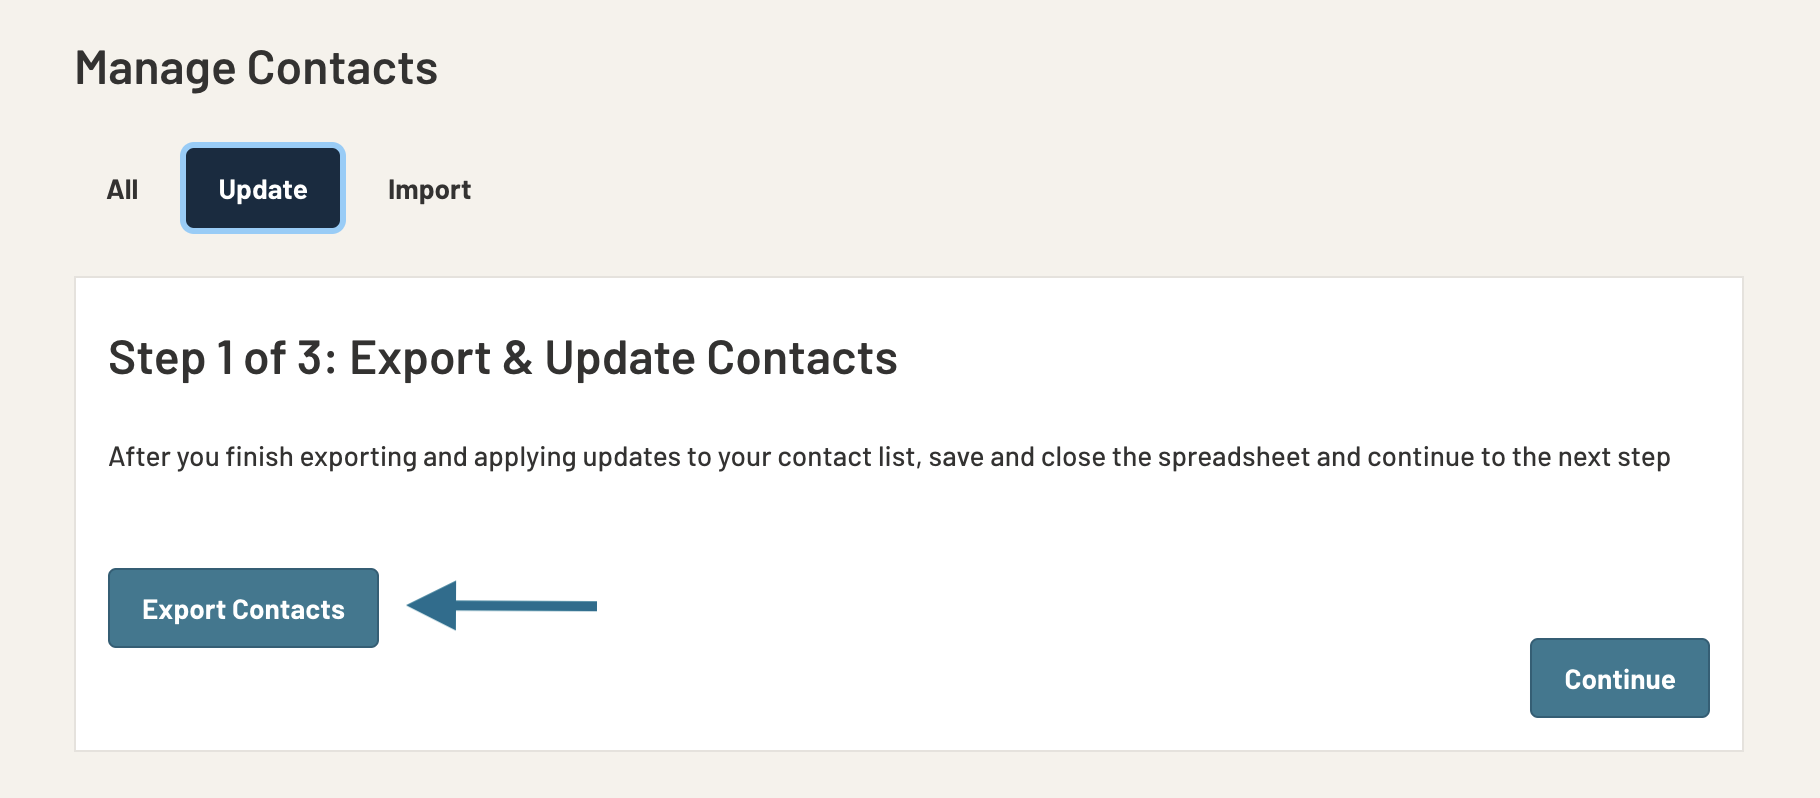
- To Update contacts, go to the Update tab and select Export Contacts. Check your email for the export, and then click Continue.
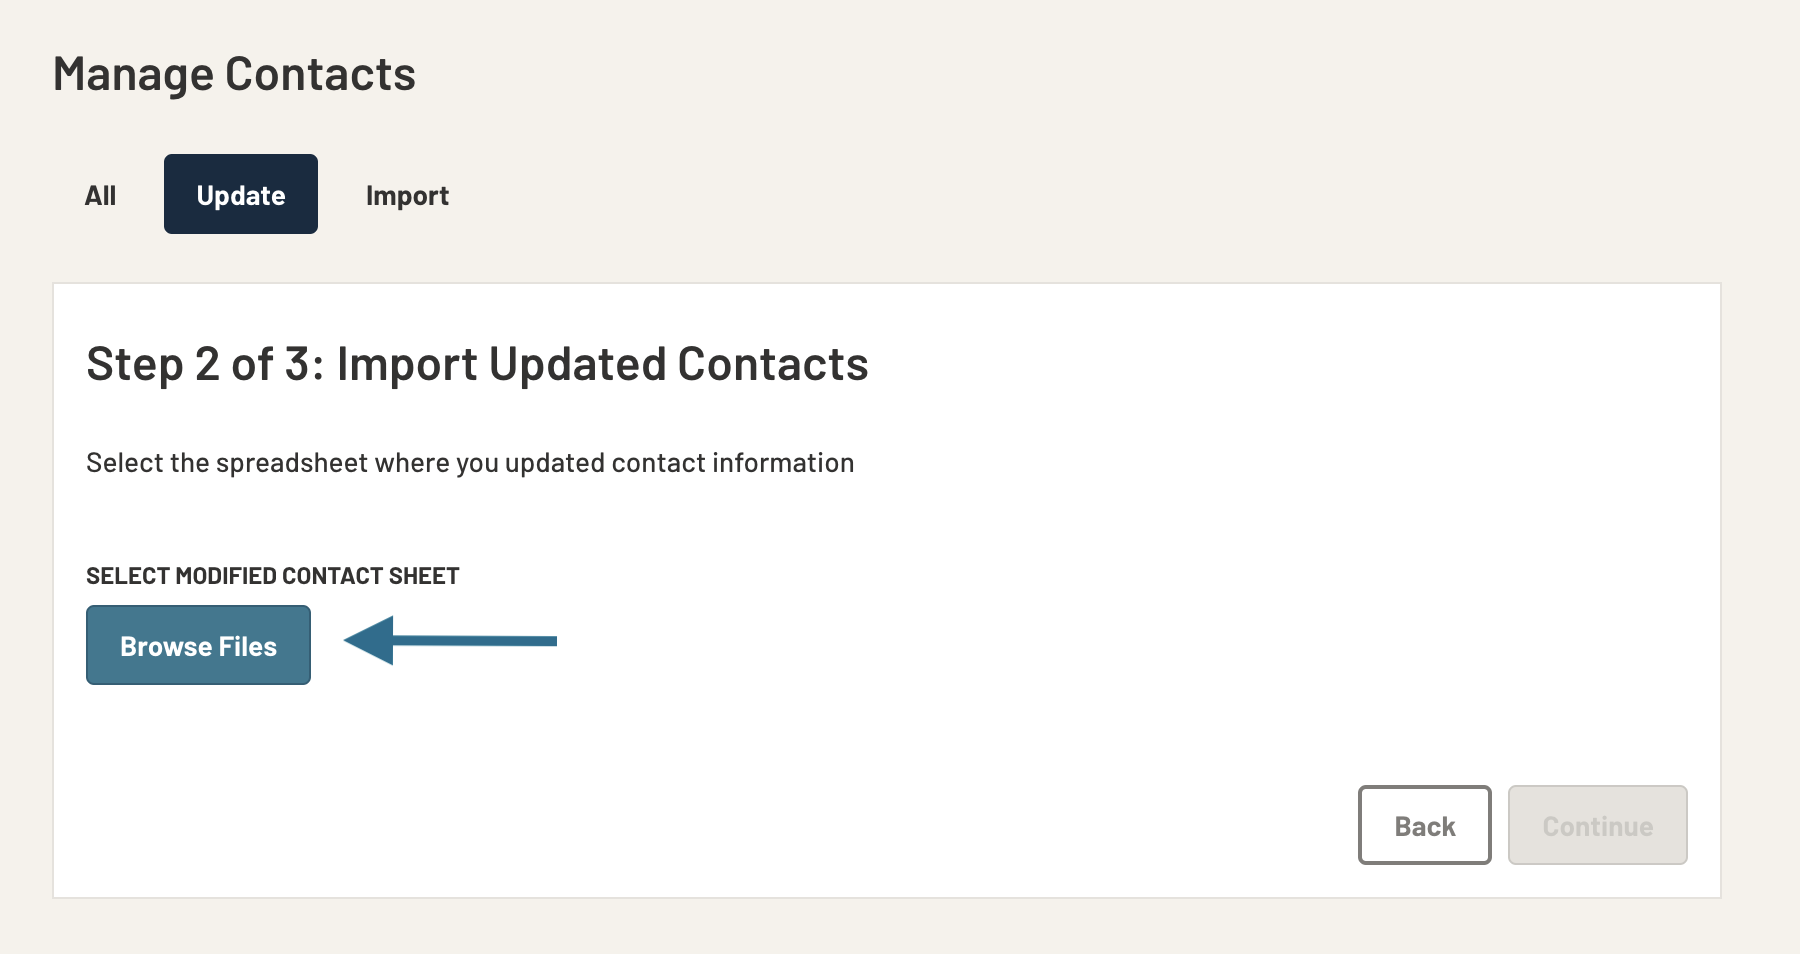
- After making edits to the export, click Browse Files and upload the updated export, then click Continue.
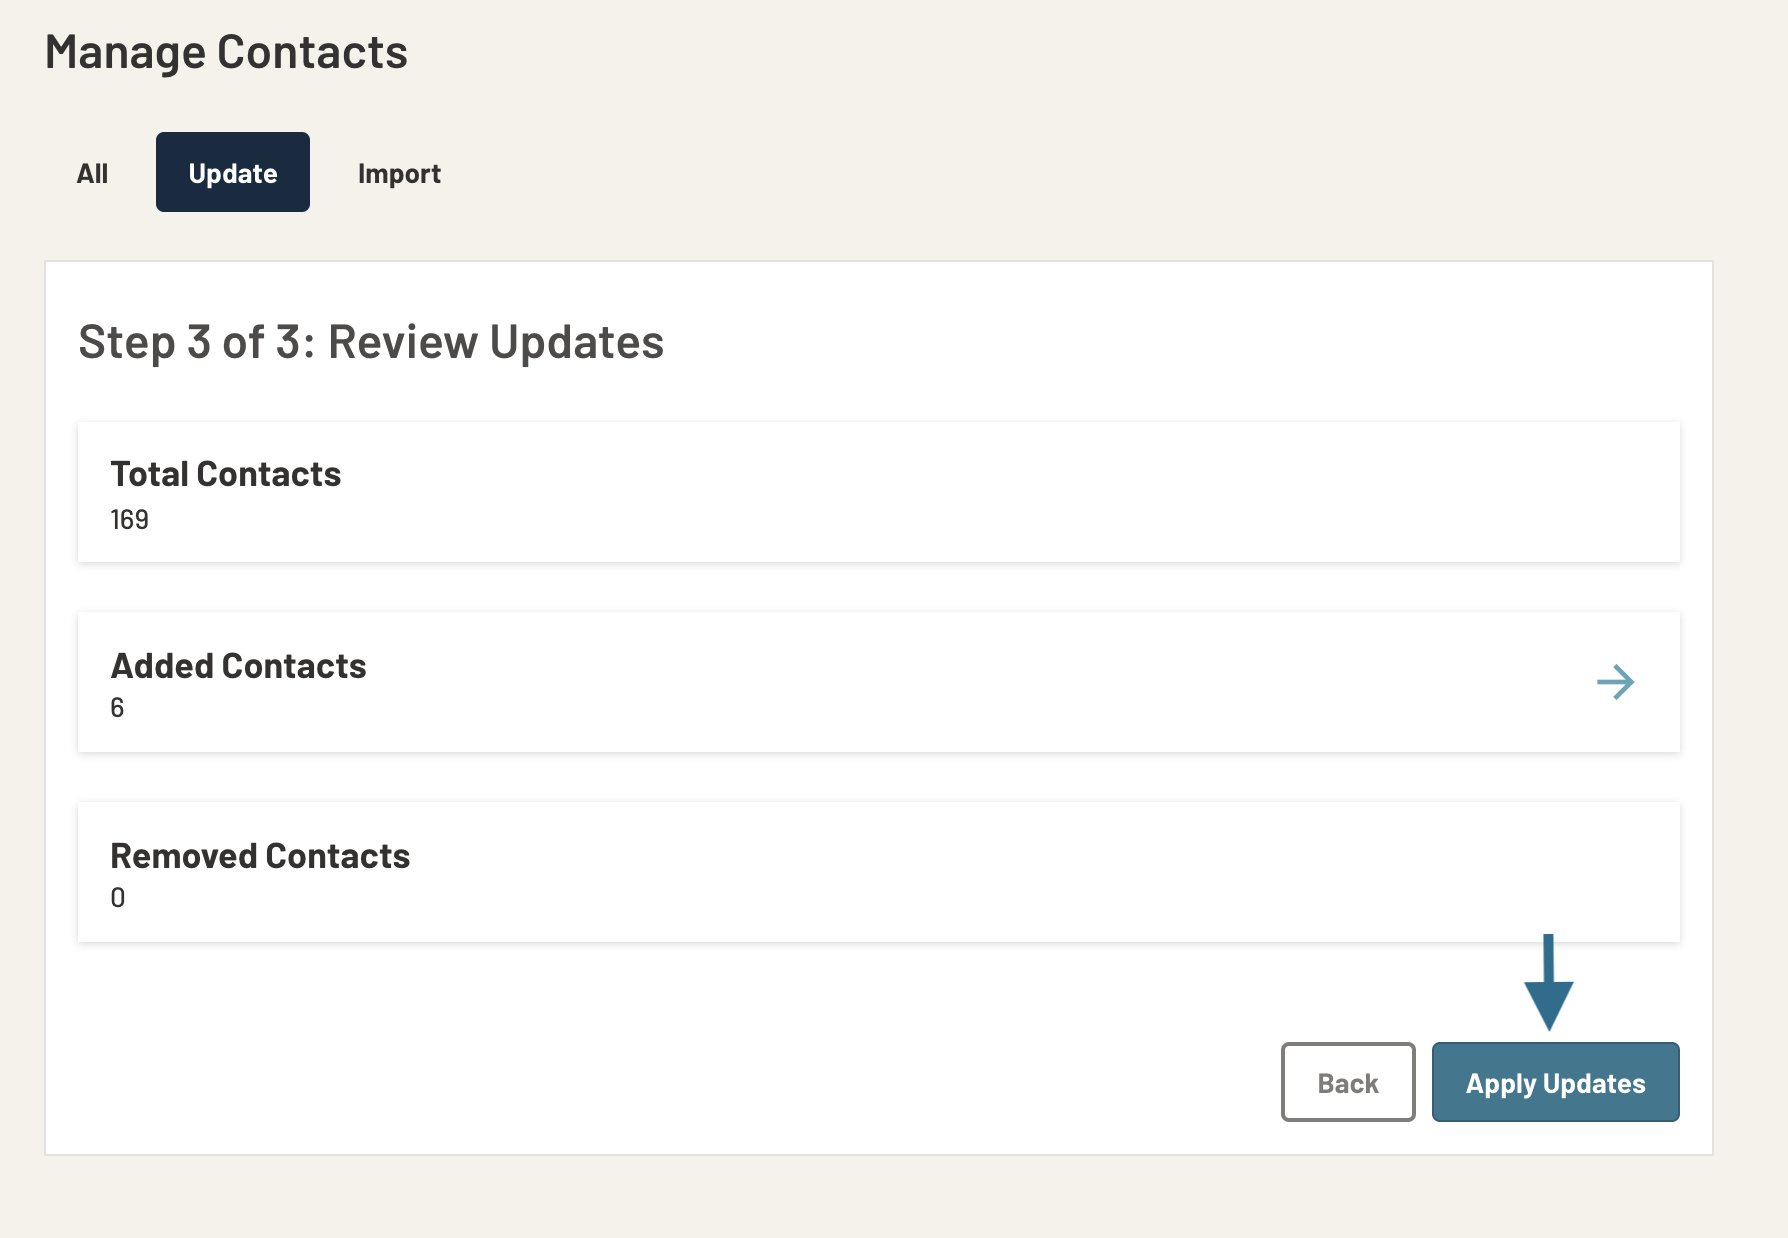
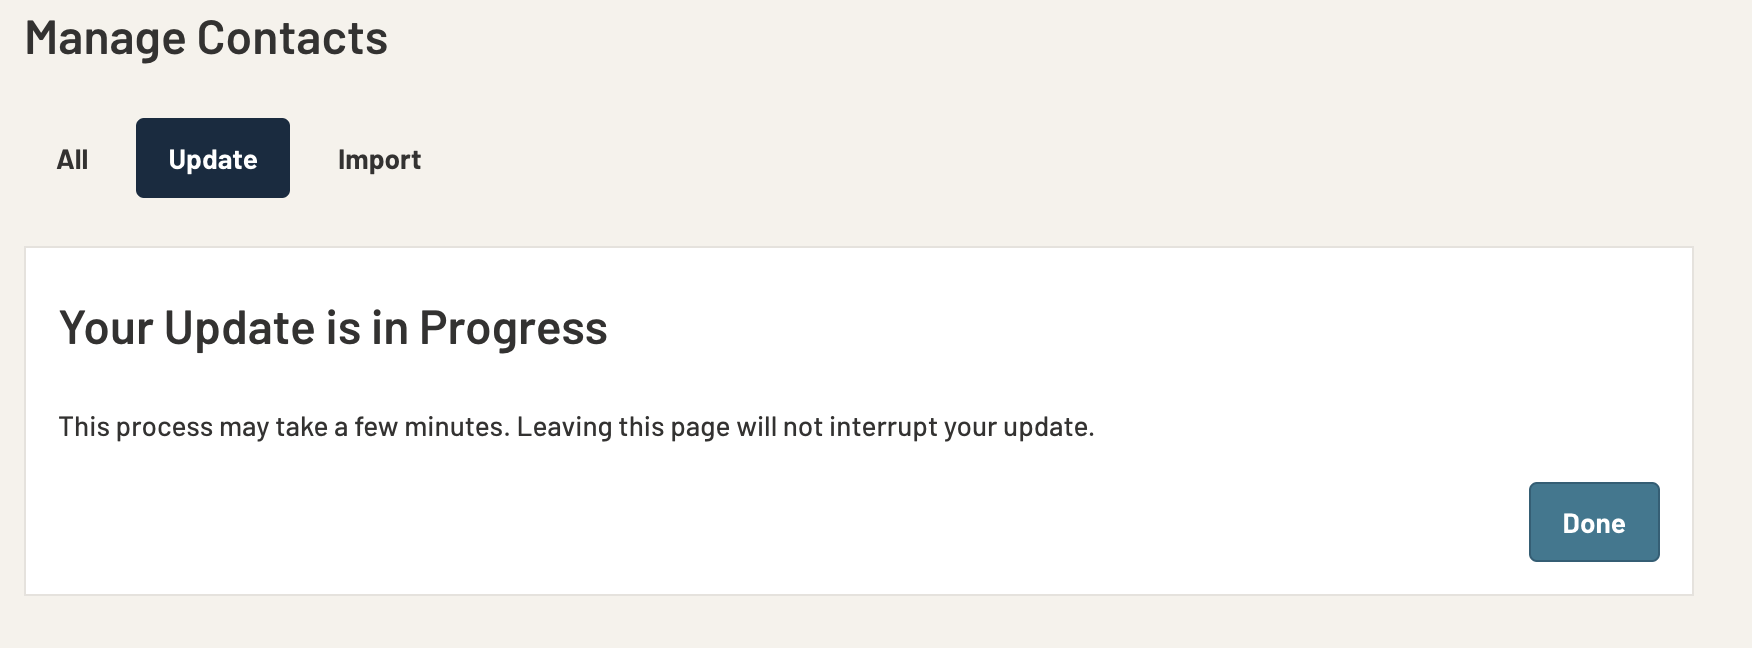
- The next page will allow you to review the updates made and then you will click Apply Updates.
- Once submitted, you will see this screen, and you can click Done.
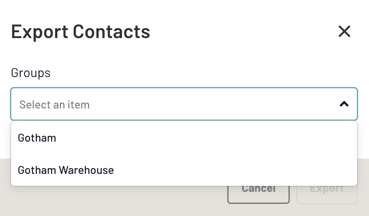
- To Export your contacts, you can click the Export button in the top left-hand corner.

- Administrators can select All or individual groups.
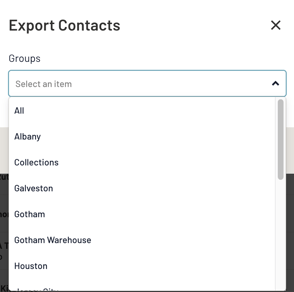
- Managers can select by individual groups.
Import Contacts - Overview
To import a customer list, an Admin or Manager will:
- Click on the Settings gear on the left sidebar.
- Click "Manage Contacts"
- Click on the Import tab

- Click "Download Template" to see how the document must be set up.
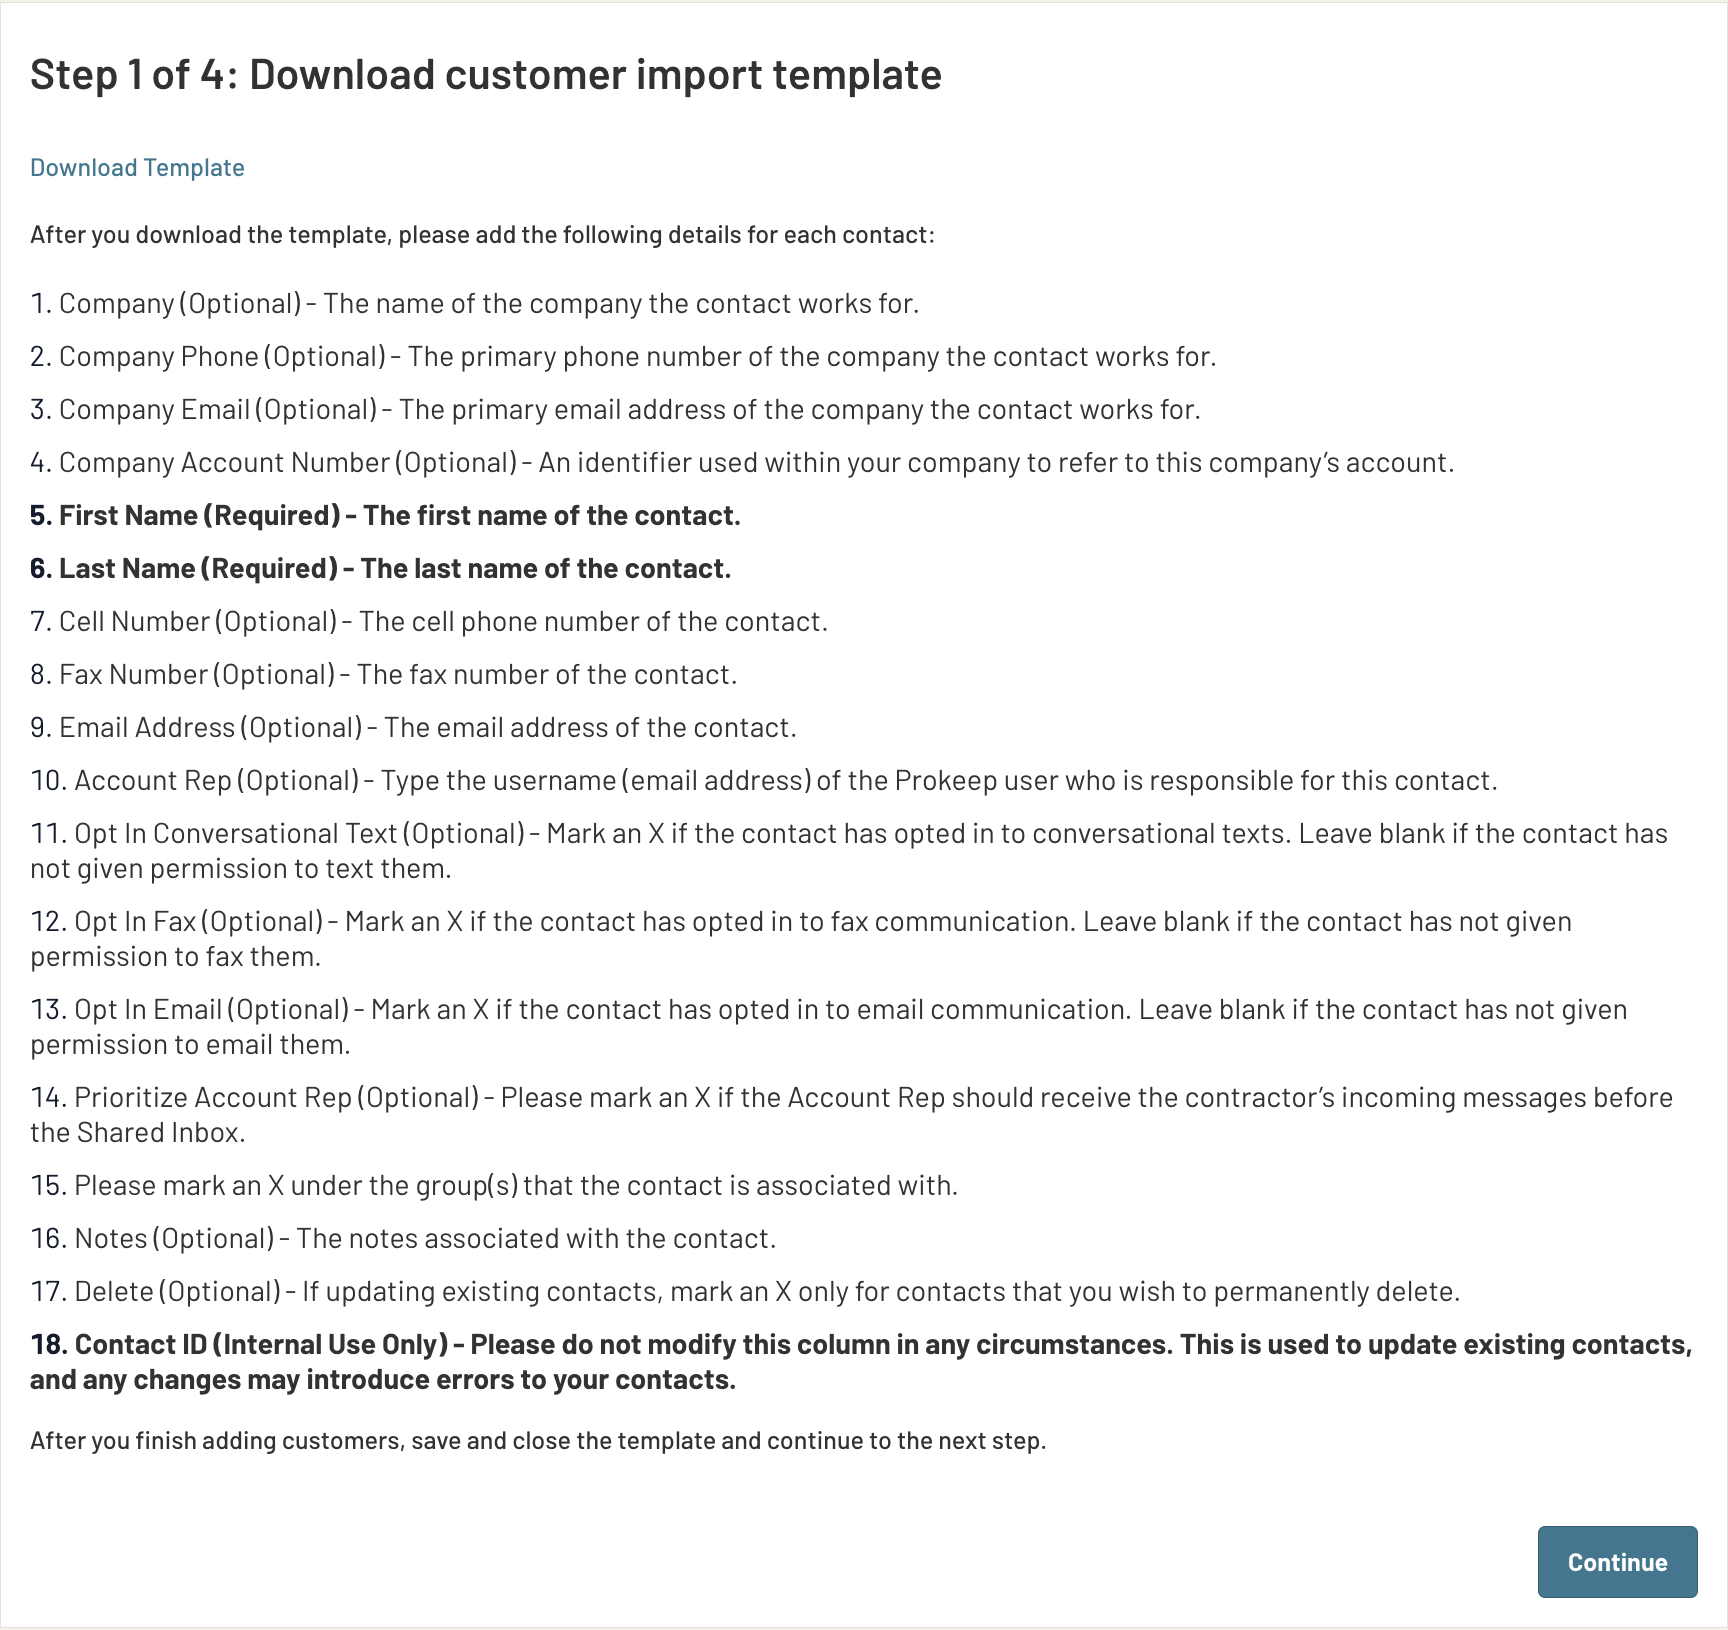
- Every row needs to have First Name, Cell Phone Number, and an 'X' under the Group name.
- If you are adding Account Reps, you must put the user's email address.
- Please do not make changes to column 18

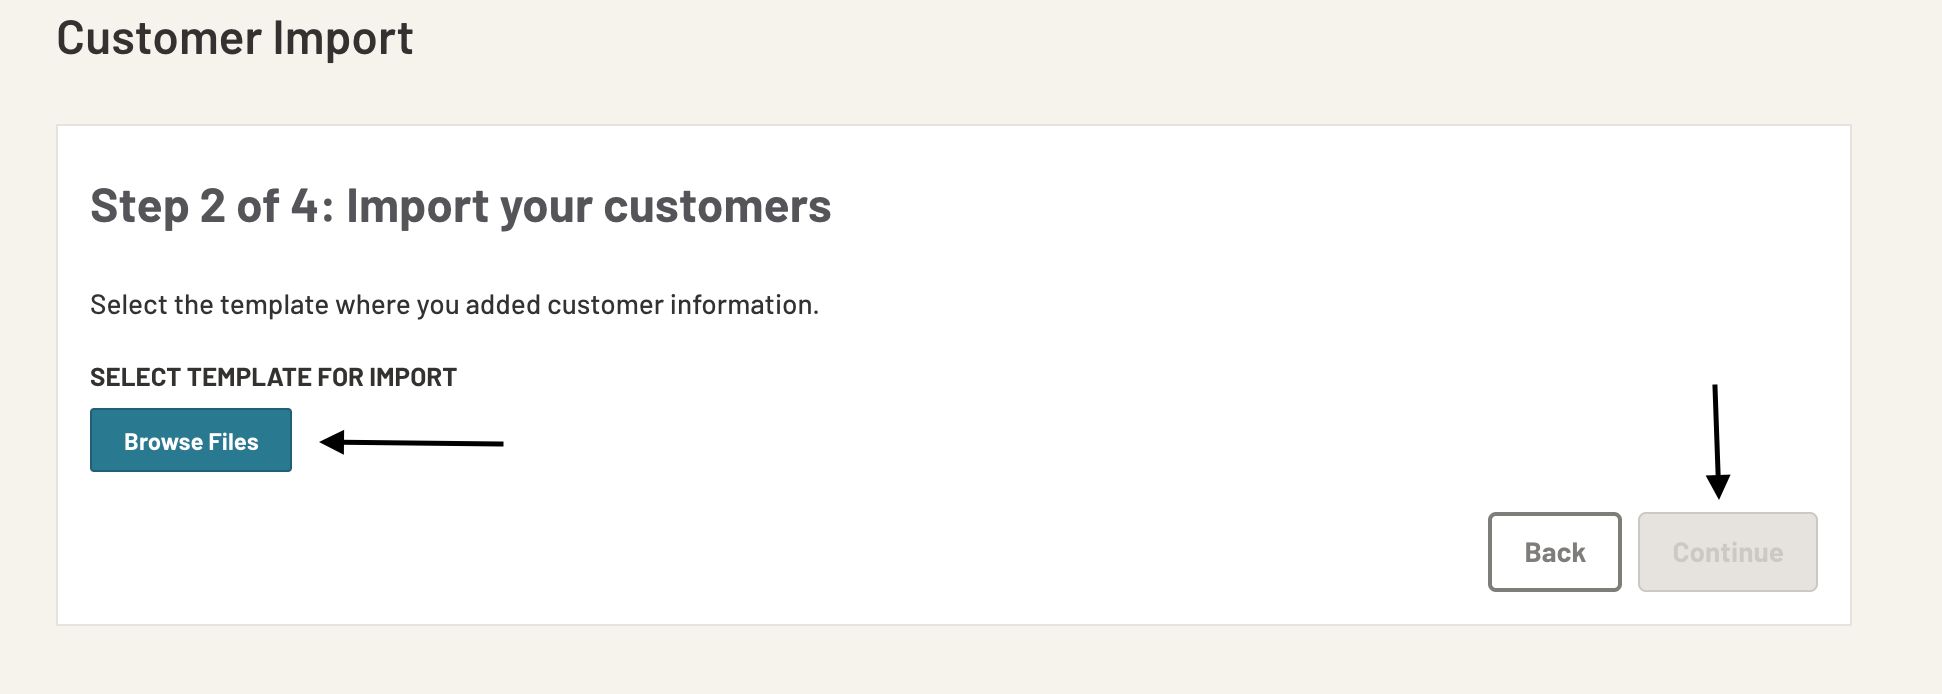
- Once you have filled out the document with your customer's contact information, click "Continue."
- Upload your completed document, click "Continue," and follow the prompts.
- Follow the instructions in Step 3 and then click "Save & Continue"
- Review Step 4 and then click "Import"
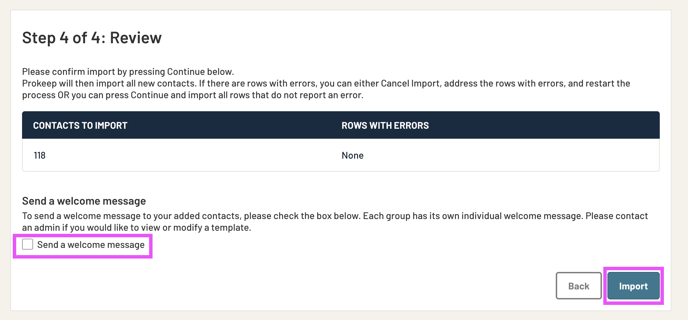
- If you would like to send a Welcome Message to the new contacts, you can select the check box.